Onions are a staple in many people’s kitchens, and we think they should also be a staple in the garden! They can be planted via sets, bulbs, or seeds, each with advantages and disadvantages. However, if you are looking for a wide variety at an affordable price, seeds are your best option. Whether you’re new to gardening or a seasoned pro, consider adding them to your list.

Onions are divided into three types: long day, short day, and intermediate day. Long-day onions require a minimum of 14 hours of sun a day before bulbing occurs, while short-day onions typically begin bulbing with 10-12 hours of sun a day. Intermediate-day onions are the “happy medium,” requiring 12-14 hours of sun daily to achieve bulbing. Long-day onions do best in northern states, including the PNW; short-day onions do best in southern states. Intermediate-day onions are more versatile and may be grown in most places, although they do best in the middle part of the country, with some overlap north and south.

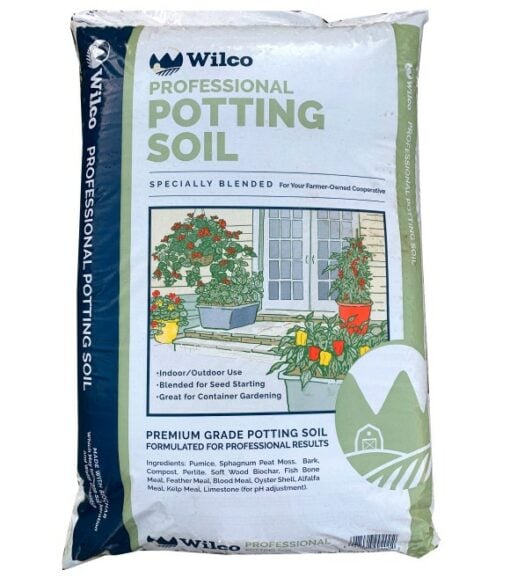
Once you’ve selected your onion seeds, it’s time to start them. Onion seeds should be started inside 10-12 weeks before you intend to transplant them, which can happen once the danger of frost has passed, and the soil has reached a consistent 50˚F. You can start onion seeds in cell trays or single-compartment containers. If using single-compartment containers, fill the container with soil until it is almost full and make furrows. The number of furrows will depend on the size of the container used. We recommend using smaller containers, such as 4″ x6″, for better management when it comes time to transplant. Just ensure any container you use has proper drainage holes. Seeds should be planted ¼” to ½” deep and covered lightly with fine seed starting mix. Don’t worry too much about spacing – you’ll thin them out later! Keep the mix moist but not soggy and use a heat mat to maintain consistent warmth. Once the seedlings are 2-3 inches tall, use a water-soluble fertilizer at ¼ strength.

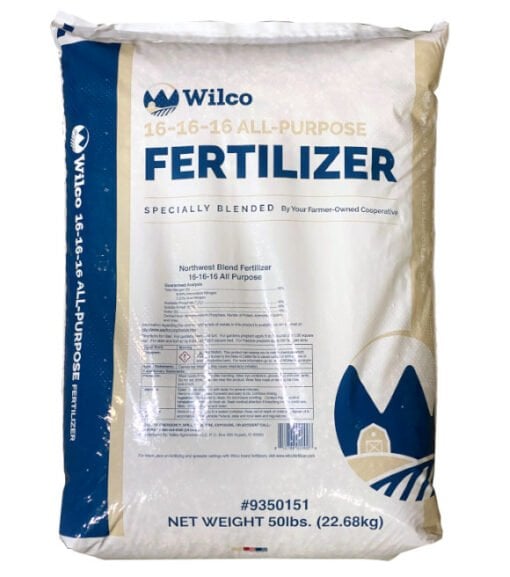
Before transplanting, prepare your seedlings by hardening them off and trimming the roots and tops. Plant them 2 inches deep, 3-6 inches apart, in rows 12-24 inches apart. Don’t worry about mounding the soil; the bulbs will push through as they grow. Keep the soil moist throughout the growing season. Onions are heavy feeders, so adding organic matter, like compost, to your soil is crucial. Test your soil before fertilizing to avoid overfertilizing but be prepared to provide additional nutrients about 1-2 weeks after bulb enlargement begins.
Onions are ready to harvest when about half of the tops have started falling over and drying out. At this point, stop watering. If rain is not anticipated for several days, you can push over the remaining tops and leave them in the ground to dry out for about a week; otherwise, bring them inside to begin curing. To cure, keep in a well-ventilated area at 75-80˚ F for 2-4 weeks until the neck is tight and the outer skin has dried. Make sure to cure storage onions properly to avoid rot. Once cured, you can cut the tops off (leaving one inch above the bulb) or braid them together. Store in a cool, dry, well-ventilated area. Be sure to check occasionally and immediately remove any sprouting or rotting onions.
We hope you will give growing onions a try so you can enjoy a variety of homegrown flavors!

